Capturing screenshots on a Mac is a fundamental skill for various purposes, from sharing information to troubleshooting. Here's a comprehensive guide on how to take screenshots on a Mac.
Understanding the Basics of Screenshots on Mac
Capturing your screen on a Mac is simple and versatile. There are different ways to take screenshots, each serving a specific purpose:
1. Capturing the Entire Screen
- Press
Command (⌘) + Shift + 3simultaneously. This captures the entire screen and saves it as an image file on your desktop.
2. Selectively Capturing a Portion of the Screen
- Press
Command (⌘) + Shift + 4. Your cursor will turn into a crosshair. Drag and select the portion of the screen you want to capture. Release the mouse or trackpad to take the screenshot.
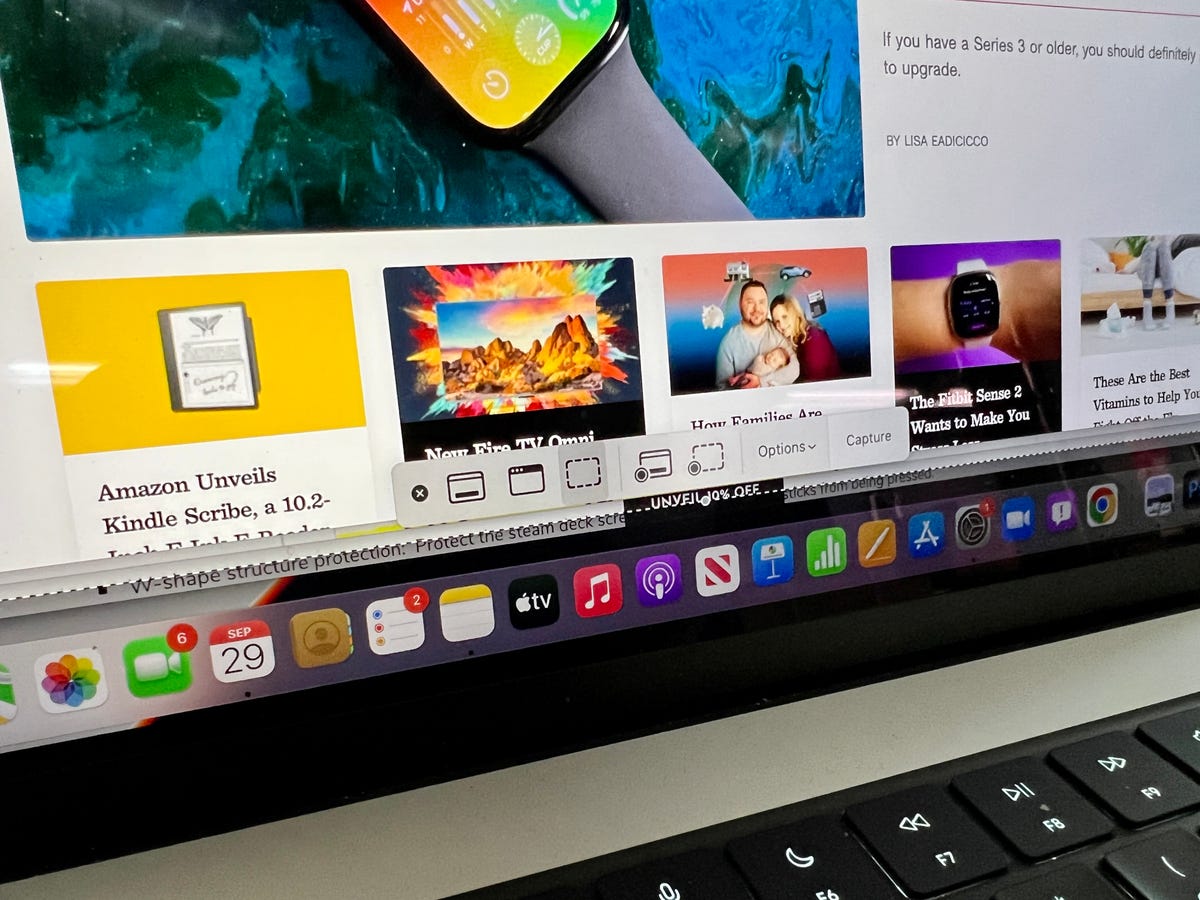
3. Capturing Specific Windows or Menus
- Press
Command (⌘) + Shift + 4, then press theSpacebar. Your cursor will turn into a camera icon. Click on the window or menu you want to capture.
4. Using Grab (for more control)
- Open
Applications > Utilities > Grab. It offers more features like timed captures, capturing cursor movements, etc.
Understanding Screenshot Formats and Storage
By default, screenshots are saved as .png files on your desktop. However, you can change the default format:
- Changing the Default Screenshot Format:
- Open Terminal and type
defaults write com.apple.screencapture type [format]. Replace[format]withpng,jpg,pdf, or other compatible formats.
- Open Terminal and type
Advanced Techniques for Screenshots
1. Utilizing Keyboard Shortcuts for Convenience
- Customize your keyboard shortcuts for screenshots in System Preferences > Keyboard > Shortcuts > Screenshots.
2. Using Third-Party Apps
- Applications like Skitch, Snagit, or Lightshot offer additional annotation and editing tools for screenshots.
3. Editing Screenshots Directly After Capture
- Open a screenshot with Preview, then go to
Tools > Annotateto add shapes, text, or highlights.
Utilizing Screenshots Effectively
1. Sharing Screenshots Instantly
- Drag and drop a screenshot directly into an email, document, or messaging app to share it quickly.
2. Troubleshooting and Support
- Capture error messages, software bugs, or unusual behaviors to share with support teams for assistance.
3. Creating Tutorials or Guides
- Use screenshots to create step-by-step tutorials, manuals, or presentations.
4. Personal Reference or Documentation
- Capture important information, webpages, or online receipts for personal reference or documentation.
5. Creative Projects
- Use screenshots as a part of creative projects or social media content.
Conclusion
Mastering the art of taking screenshots on your Mac is a valuable skill. Whether it's for sharing information, troubleshooting, or creative endeavors, the ability to capture your screen efficiently and effectively enhances your productivity and communication skills. Experiment with different methods and tools to find what works best for your needs and workflow.
Tags:
MacOS
